Ontario Marinas and Marine Services
Boating Tips Articles and Information

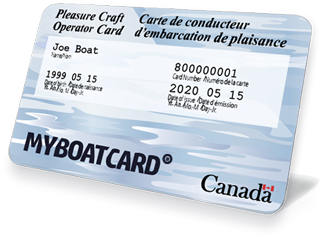
Who Needs The Card?
All operators of recreational
powered watercraft who operate
within
Canadian waters.
RENTAL BOATS A MUST READ
Get Your Boating License
Avoid The $300 + Fine!
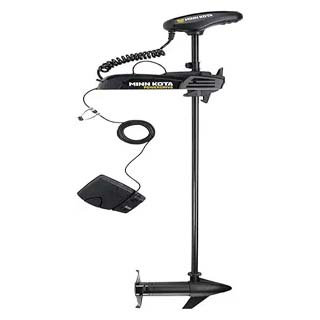
Minn Kota 1358763 PowerDrive Freshwater Electric-steer Bow-Mount Trolling Motor

Tricks and Tips to Successfully Painting Your Yacht
By Phil Salthouse
When the time has come to paint your boat there are plenty of do's and don'ts to take into account.
I have been a boat builder for 25 years and here is some advice on steps you can take to make this expensive procedure turn out for the best, without too much stress and strain.
Firstly, wash the boat from top to bottom to remove any salt residue, remove the mast and rigging and store these away.
You may want to consider painting the mast at this time if required.
Then lift the boat and place into the paint shed and set up the scaffolding at an easy height to work from.
Go over the boat and decide if there is any gear that you don't want to put back on after the repaint, or any changes that you want to make.
Do these before any paint is applied so that they can be faired in and made to look like they were always meant to be there.
Cover the top of the boat from toe-rail to toe-rail with draping film so that you cover the entire deck area, this will stop all
the dust from getting on the deck and into the interior of the boat. The clean up at the end will be a big enough job as it is.
It is now time to mask up all the remaining fittings that you are not removing. It is hard to get tape to stick, once you get a layer of dust over things, without doing a major clean. The tape also gives some protection when you sand up close to the fitting.
Now it is time for the first sand, if you have access to orbital sanders you can do this part, make sure you use a good respirator as the dust from this is not good for the lungs. It will need a good, hard sand with about 80 grit paper.
If this grit seems to take a long time to sand with, or clogs up very quickly, try a coarser grade, say 60, or you may need to solvent wash the area to remove any wax or polish that may still be there. You need to sand the entire surface until it is a matt finish with no shine showing, take particular care to get right into all the corners and up to any fittings etc.
If you don't, then this is where the new paint won't
stick well enough. Be sure to get the painter to check it before applying the undercoat.
The boat should be dusted down and washed with a de-greasing agent or wax remover just prior to painting to make sure that any contamination from other chemicals or oils etc. is removed.
You can go around the boat and spot fill any areas that need repairing at this point,
or get the first undercoat on, and while it is still fresh, go around and fill all the holes and imperfections you can see. I prefer to do the filling after the undercoat as it is easier to see all the areas requiring attention.
Now ask the painter to spray or wipe on a "guide coat". This is thinners, or solvent, with a dark tint in it. Once this is done your boat will look like the local gang has just attacked it with graffiti, but that's okay because you get to sand it all off!
We need to move to a finer grade of paper at this point, I suggest around the 180 grade, and make sure it is "dri-lube" sheet paper. On the hull sides we use paddle boards that take a whole sheet of dri-lube. Paddle boards are roughly 300mmx200mm, made out of plywood,
with a thin sponge foam on the face and a handle on the back, to which you staple a whole sheet of dri-lube paper.
Once you have sanded the guide coat off, so that all you can see is undercoat, then it is time to dust and clean ready for the next undercoat. Again, get the painter to check your sanding before he puts the next undercoat on. All going well this will be the final undercoat.
Once this next undercoat is on, again, check to see if any filling is required and do it if it is. Then another guide coat is needed and away you go with the sanding, this time with around the 280 to 320 grade dri-lube. Once you have finished and the painter is happy, it's time for the top coat to be applied.
Once the top coat is applied, the next step is to mark out any boot top and stripes, for best results get someone to do this with a laser level.
Apply the sign-writing, if it is within any of the stripes. Then back mask the boot top and stripes (back mask means mask all the newly painted topsides leaving only the stripe/boot top to be painted exposed) and sand with 280 to 320 grade paper, removing all the shine, then have the painter spray on the chosen colour.
Warning: Don't mask over fresh paint with plastic or draping film
as it holds the solvents in, softens the paint, and sticks the film to the new paint. Use plain brown paper.
When all this is hard you can now proceed to unmask the boat. When pulling the final tapes off, pull them back on themselves so as not to be pulling the new paint off the job. Uncover all the deck as well then stand back and admire the new look!
About the Author: Phil Salthouse comes from one of New Zealand's most prominent boating families. He has completed an apprenticeship in boat building; project managed many new builds and refits along with general maintenance work on all types of vessels.
He was Managing Director of a successful New Zealand boat yard for many years and now runs his own project management and consultancy business,
http://www.aquamagic.co.nz along with a question and answer website where people can send Phil their boating questions and receive prompt friendly, honest, and independent advice for their boating issue.

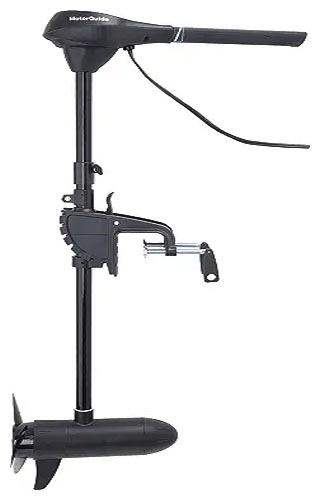
The Motorguide Transom Mount Trolling Motor is a tough aluminum 7 position mount which gives you greater flexibility and adaptability